


The process of UV laser marking involves using a high-energy ultraviolet (UV) laser beam to alter or remove material at a microscopic level, creating precise, high-contrast marks on various surfaces. Here's a step-by-step breakdown of how a UV laser marking machine works:

1. Design Preparation
A digital design (text, logo, barcode, etc.) is created using marking software (e.g., EzCad, LaserMark, CorelDRAW).
The software converts the design into machine-readable instructions (coordinates and laser parameters).
2. Material Setup
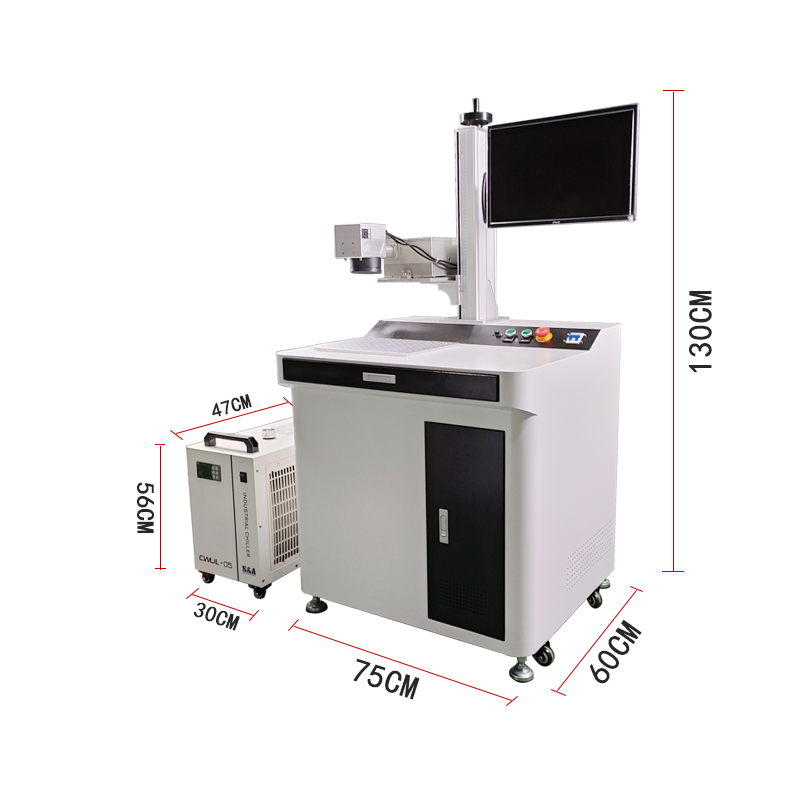
The workpiece is placed on the machine’s worktable or fixture.
The laser’s focal distance is adjusted to ensure precision.
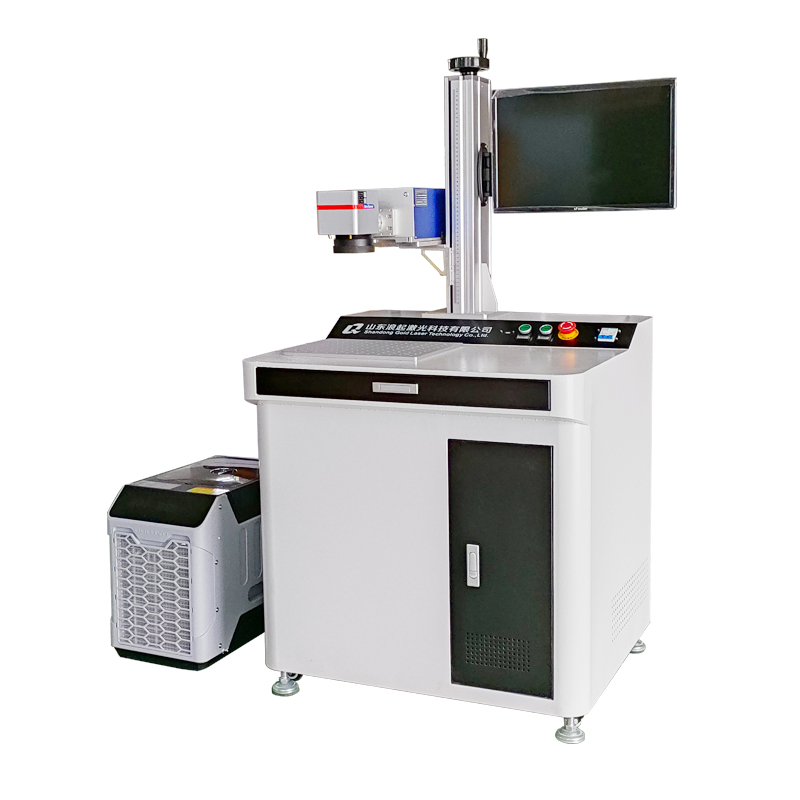
3. Laser Beam Generation
A UV laser source (typically 355nm wavelength) emits a concentrated beam.
The beam passes through mirrors and lenses to focus it onto the material.
4. Photochemical Interaction (Cold Marking)
Unlike traditional laser marking (which uses heat), UV lasers rely on photochemical reactions.
The high-energy UV photons break molecular bonds in the material without excessive heat, preventing burning or melting.
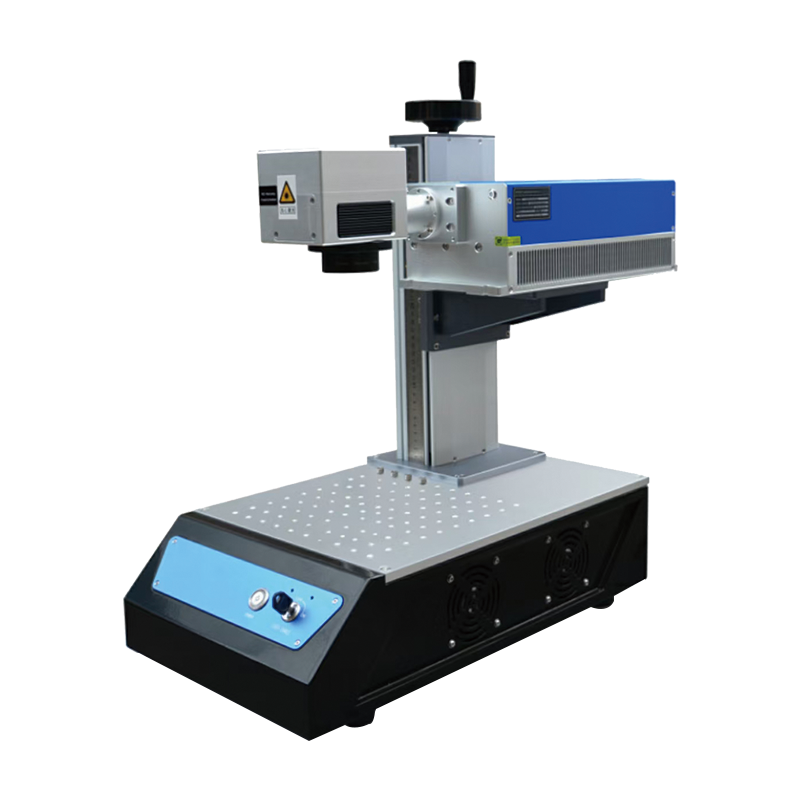
5. Marking Process
The laser beam moves across the surface (via galvanometer scanners) following the programmed pattern.
The material absorbs UV light, causing color changes, foaming, or ablation (depending on the material).
6. Resulting Mark
High-contrast, permanent marks are created with minimal thermal damage.
Common results: white/gray marks on plastics, dark engravings on metals, or subtle changes on glass/ceramics.
Key Advantages of UV Laser Marking
✔ High Precision – Ideal for small, intricate marks (e.g., microelectronics, medical devices).
✔ No Heat Damage – Works on heat-sensitive materials (plastic, film, rubber).
✔ Permanent & Durable – Resistant to fading, abrasion, and chemicals.
✔ No Ink or Consumables – Non-contact, eco-friendly process.
Applications
Electronics: PCB marking, chip engraving
Medical: Surgical tools, syringe markings
Packaging: Barcodes, QR codes on plastics
Jewelry & Glass: Fine engravings