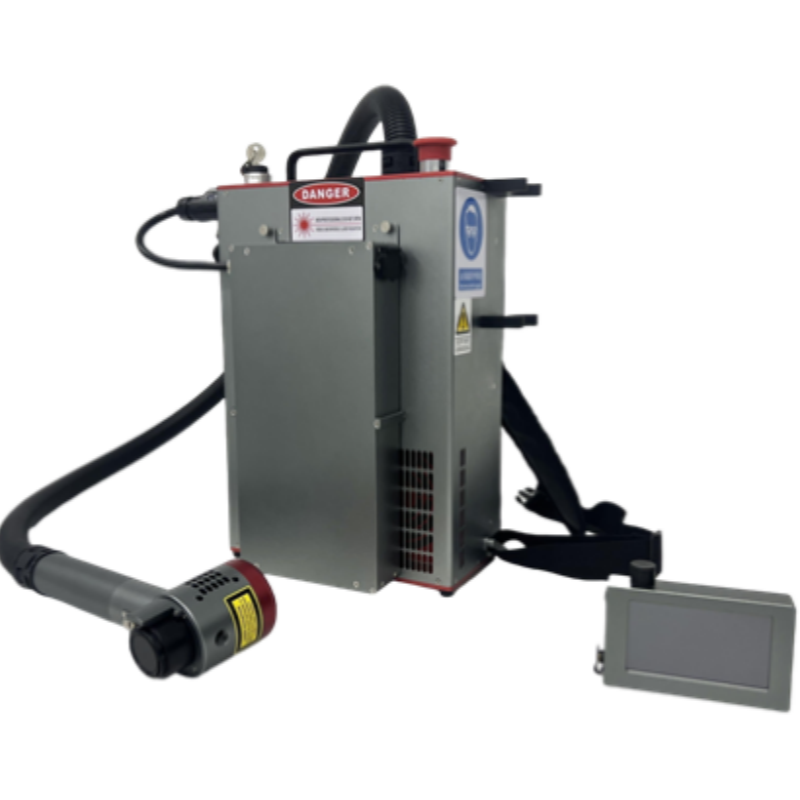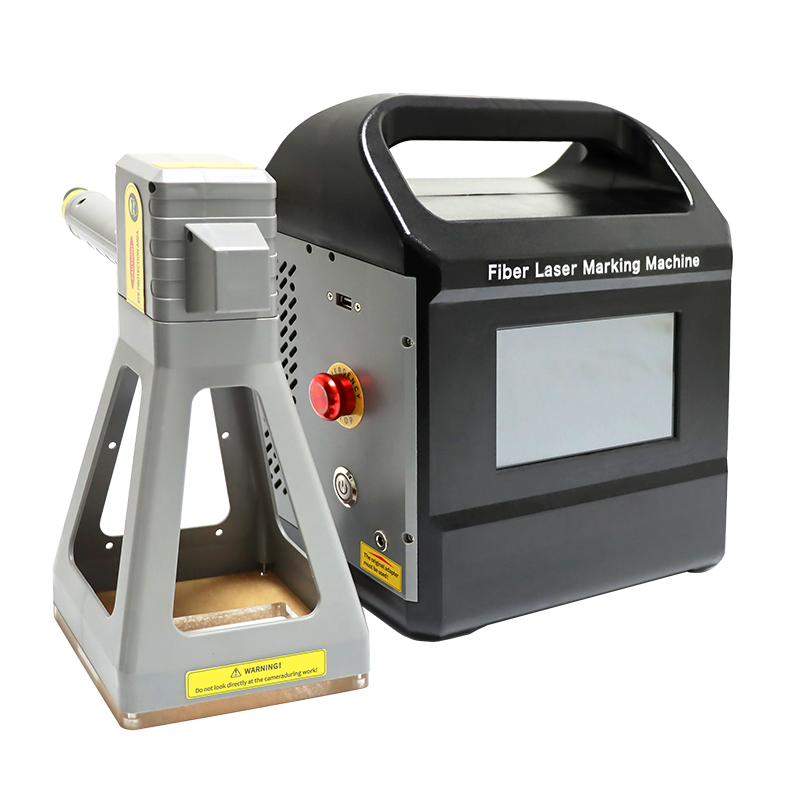
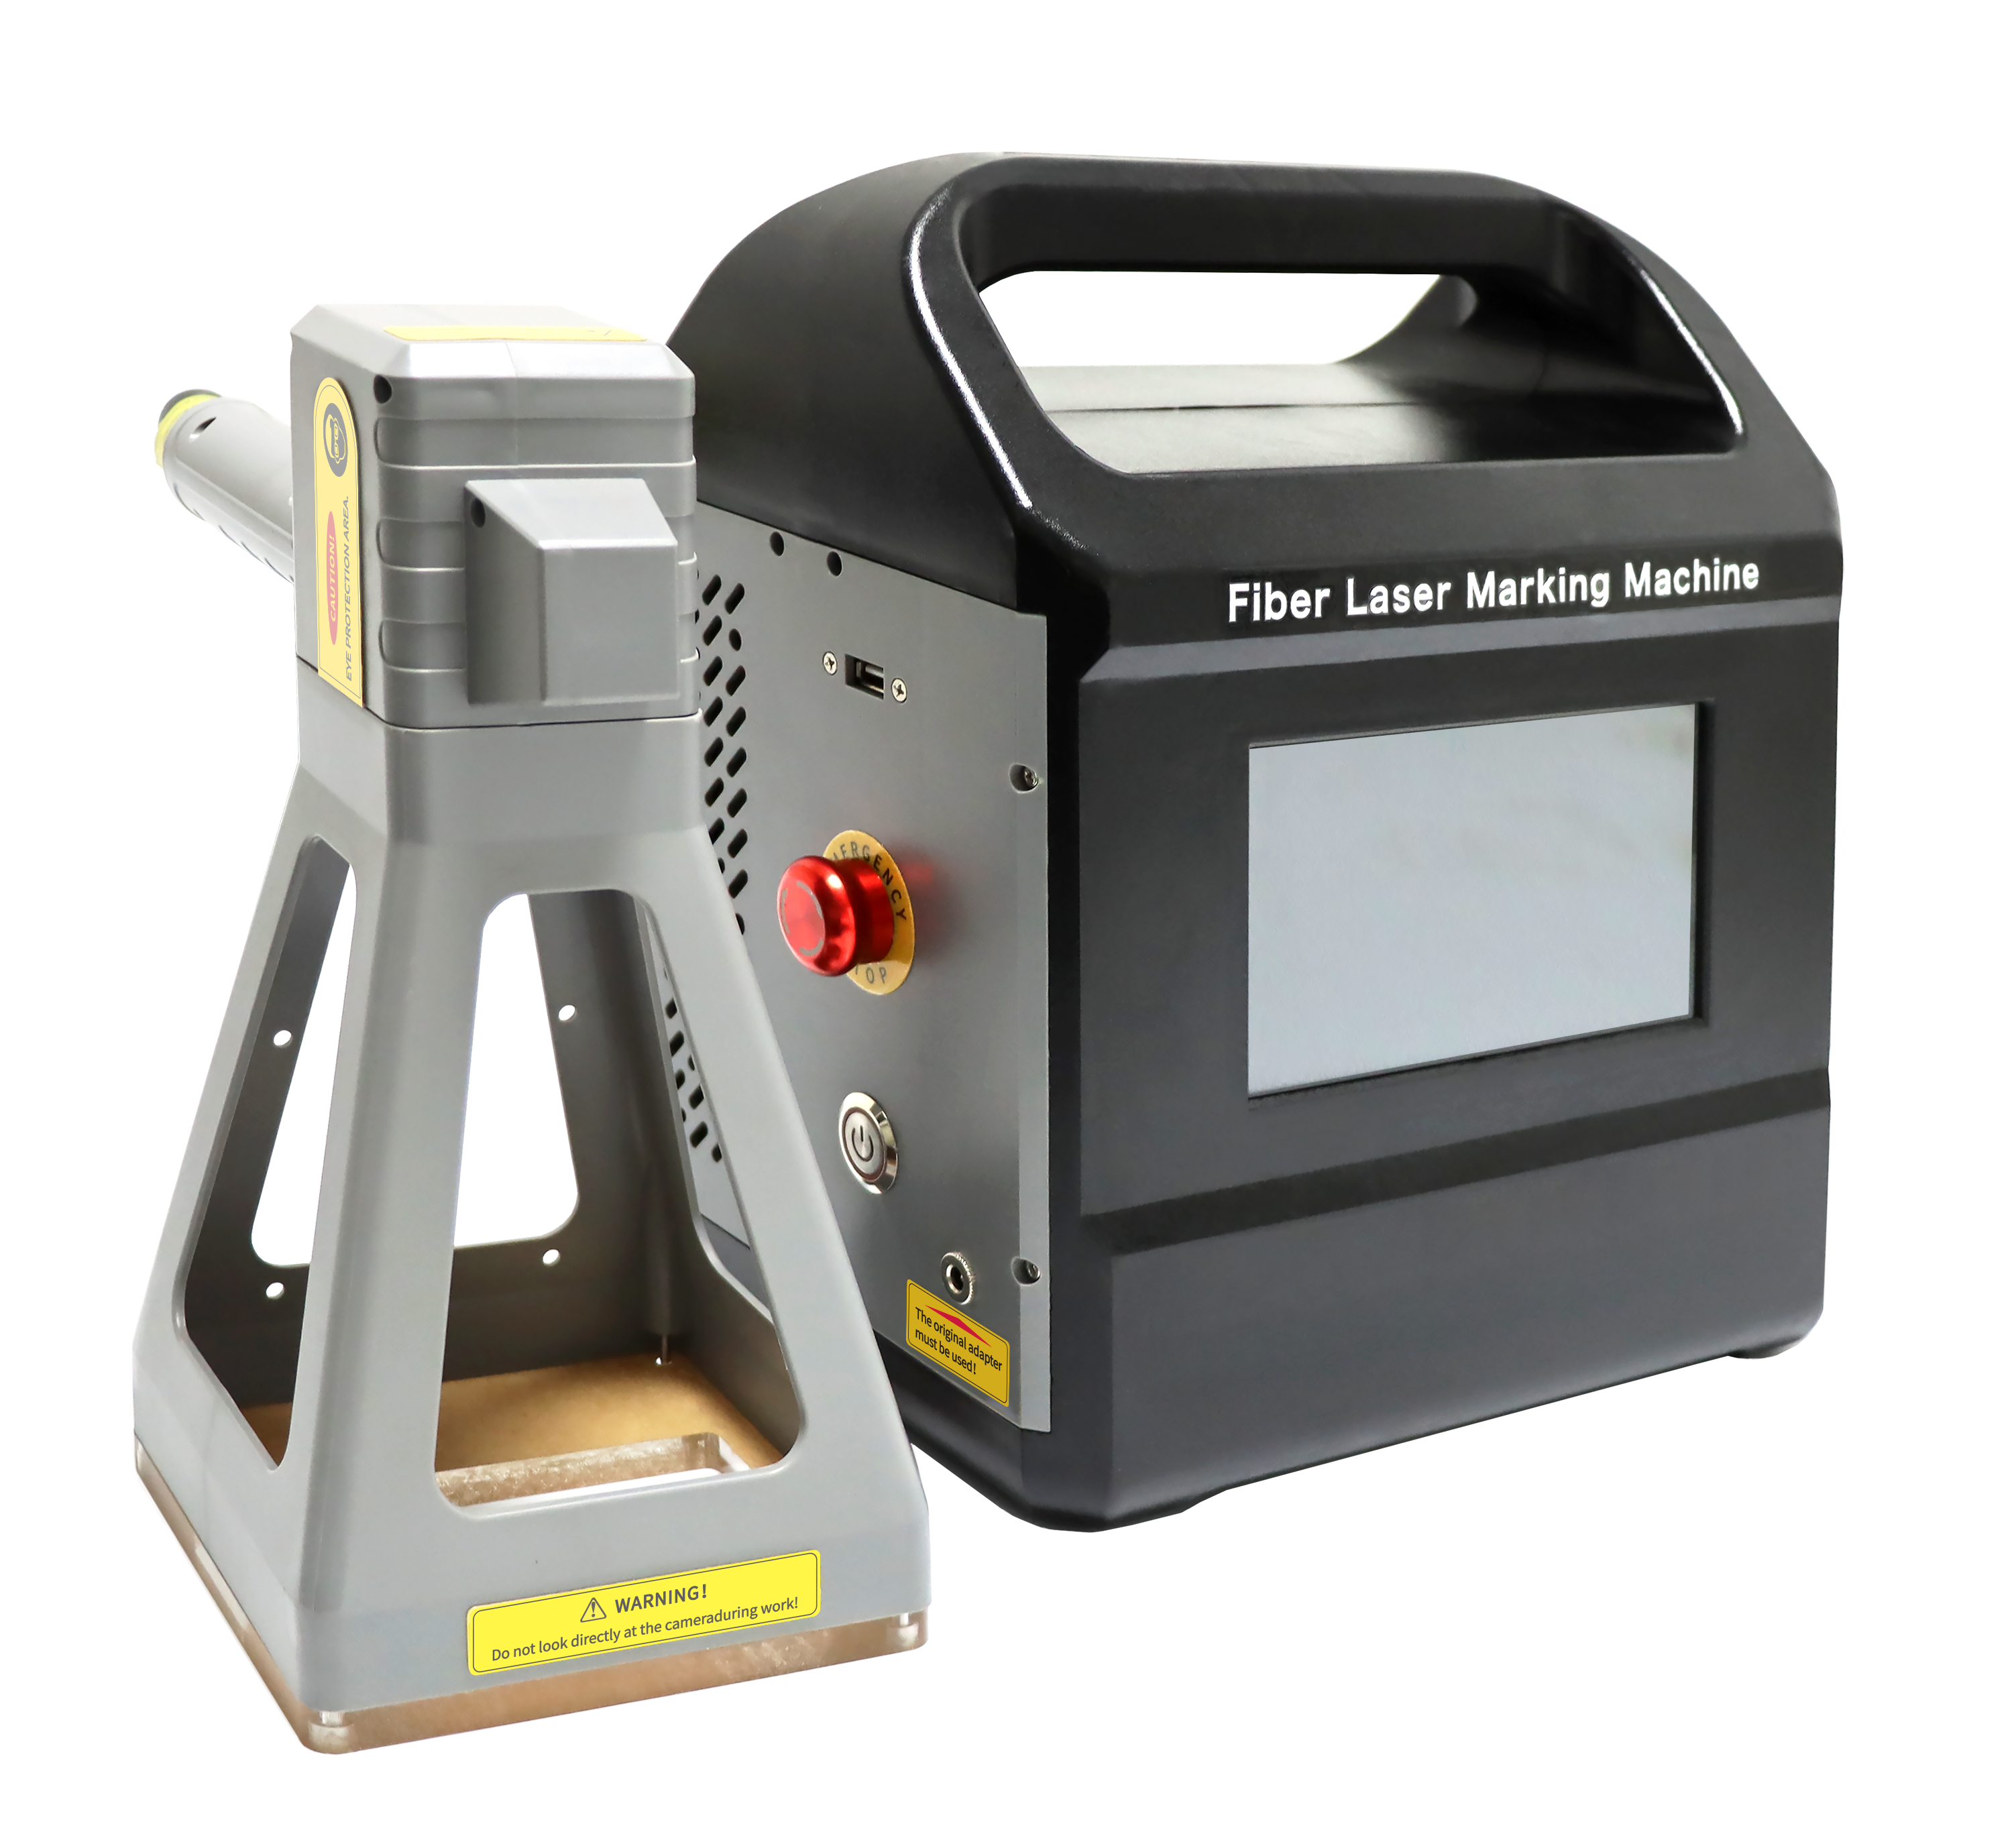


Using and handling a handheld laser marking machine requires proper setup, operation, and safety precautions to ensure efficiency and prevent accidents. Below is a step-by-step guide:

1. Safety Precautions
Wear Protective Gear: Use laser safety goggles to protect your eyes from reflected beams.
Avoid Skin Exposure: Never point the laser at skin or reflective surfaces.
Ventilation: Work in a well-ventilated area to avoid inhaling fumes (especially when marking plastics or coated metals).
Keep Away Flammables: Ensure no flammable materials are nearby.
2. Setup & Preparation
Power Connection: Plug the machine into a stable power source.
Check Laser & Lens: Ensure the laser lens is clean and undamaged.
Install Software (if applicable): Some models require software for design input (e.g., CorelDraw, EzCad).
Material Compatibility: Confirm the material is suitable for laser marking (metals, plastics, wood, etc.).
3. Basic Operation Steps
Turn On the Device: Power on the machine and wait for initialization.
Adjust Settings (via control panel or software):
Power (%): Adjust based on material hardness (higher for metals, lower for plastics).
Speed (mm/s): Slower speed = deeper marks.
Frequency (Hz): Adjust for different materials (e.g., 20-50kHz for metals).
Focus the Laser: Adjust the distance between the laser head and the material (usually 5-20cm, depending on the focal length).
Test Marking: Perform a test run on a scrap piece to fine-tune settings.
Start Marking: Hold the device steadily or use a fixture for precision. Press the trigger (or start via software).
Monitor Progress: Ensure consistent marking quality.
4. Post-Operation
Turn Off Properly: Shut down the laser and disconnect power.
Clean the Lens: Use a soft, lint-free cloth with alcohol to remove debris.
Inspect for Damage: Check cables, lenses, and cooling systems (if applicable).
5. Maintenance Tips
Regularly clean the laser lens and ventilation filters.
Check cooling systems (if water-cooled) to prevent overheating.
Store in a dry, dust-free environment.
6. Troubleshooting Common Issues
Faint Marks: Increase power or reduce speed.
Burnt Edges: Lower power or increase speed.
Misalignment: Recalibrate the laser focus.
Overheating: Ensure proper cooling and ventilation.
7. Applications
Metals: Serial numbers, logos, barcodes.
Plastics: Product labels, QR codes.
Wood/Leather: Decorative engravings.