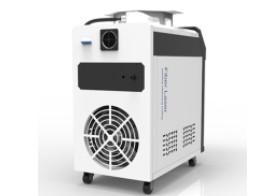
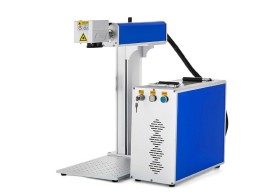
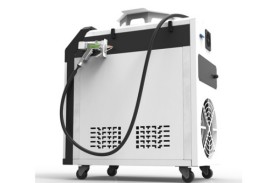
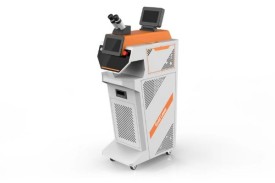
How do you Remove Thick Paint From Laser Cleaning Machine
Removing thick paint from a laser cleaning machine requires careful steps to ensure the machine's optics and components are not damaged. Here’s a step-by-step guide:
1. Safety Precautions
Wear protective gear (gloves, goggles, and a mask).
Power off and unplug the machine to avoid accidental laser activation.
Allow the machine to cool if it was recently in use.
2. Remove Loose Paint Residue
Use a soft brush or compressed air to remove loose paint flakes from the laser head, nozzle, and work area.
Avoid scratching optical lenses or mirrors.
3. Clean Optical Components (Lenses & Mirrors)
For lenses/mirrors: Gently wipe with a lens cleaning solution (isopropyl alcohol or specialized optical cleaner) and a lint-free microfiber cloth.
Do not use abrasive materials (paper towels, rough cloths) that could scratch the surface.
If paint is baked on, a plastic scraper (for optics-safe removal) may help, but be extremely gentle.
4. Clean the Nozzle & Laser Head
If paint has accumulated on the nozzle, soak it in a paint remover solvent (acetone or specialized paint stripper) for a few minutes, then wipe clean.
For stubborn deposits, use a soft brass brush (non-abrasive to metal parts).
Avoid harsh scraping that could misalign the laser head.
5. Check Ventilation & Filters
If the machine has an exhaust or filtration system, clean or replace clogged filters that may have paint particles.
6. Test the Machine
After cleaning, reassemble all parts securely.
Perform a low-power test run to ensure proper functionality before full operation.
Preventive Measures
Adjust laser settings (power, speed, frequency) to prevent excessive paint splatter buildup.
Regularly clean the machine after heavy-use sessions.
When to Seek Professional Help
If paint has hardened inside critical components (like galvanometer scanners), consult the manufacturer or a technician to avoid damage.