How Do you Remove Paint From Metal with a Laser Cleaning Machine
Removing paint from metal using a laser cleaning machine is a highly efficient, eco-friendly, and non-abrasive method. Here’s a step-by-step guide on how to do it:
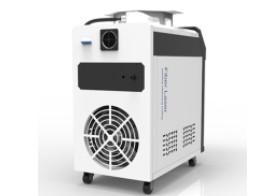
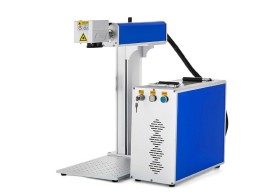
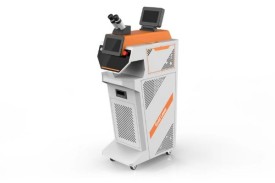
Step 1: Choose the Right Laser Cleaning Machine
Select a fiber laser cleaning machine (typically 20W to 200W, depending on paint thickness and metal type).
Ensure the wavelength (usually 1064nm) is suitable for paint removal.
Step 2: Prepare the Metal Surface
Clean loose debris or dirt from the metal surface (wipe or blow off dust).
Ensure proper ventilation or use a fume extractor to handle vaporized paint particles.
Step 3: Adjust Laser Parameters
Power Setting: Start with lower power (e.g., 30-50W) and adjust based on paint thickness.
Frequency: Higher frequency (e.g., 20-100kHz) for thin paint, lower for thick layers.
Scanning Speed: Adjust speed (e.g., 1000-5000mm/s) for optimal cleaning without damaging the metal.
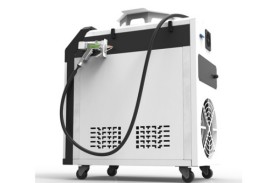
Step 4: Perform Laser Cleaning
Hold the laser nozzle 5-20cm from the surface (or use an automated system for large areas).
Move the laser in a controlled, overlapping pattern to ensure complete paint removal.
The laser ablates (vaporizes) the paint without damaging the underlying metal.
Step 5: Inspect and Repeat if Needed
Check for any remaining paint residues.
Adjust power/speed settings and repeat if necessary.
Step 6: Post-Cleaning (Optional)
Wipe the surface with a clean cloth to remove any residual particles.
Apply a protective coating if required (e.g., anti-rust treatment).