


Of course. Using a UV laser marking machine to mark QR codes on glass is an excellent application, known for producing high-quality, permanent, and aesthetically pleasing marks.
Here’s a comprehensive breakdown of the process, benefits, considerations, and best practices.
Why UV Laser is Ideal for Glass QR Codes
Unlike traditional CO2 or fiber lasers that use heat to etch or ablate material, UV lasers operate on a different principle called "cold marking."
Wavelength: UV lasers have a very short wavelength (355nm) compared to other lasers.
Cold Ablation: This short wavelength is highly absorbed by materials like glass. Instead of melting or burning the material, it breaks the molecular bonds directly in a process called photochemical ablation.
Result: This creates a precise, smooth, and frosted mark on the surface without the micro-cracks, chips, or thermal stress that heat-based lasers can cause.
Key Advantages of UV Laser Marking on Glass
High Precision & Resolution: The small spot size of the UV laser allows for incredibly fine details. This is critical for QR codes, especially small ones, as it ensures every module (the black and white squares) is distinct and the code remains easily scannable.
Smooth, Frosted Finish: The mark is a clean, frosted white appearance that provides excellent contrast against the transparent or colored glass background. This high contrast is essential for QR code scanners to read the code quickly and reliably.
No Cracking or Damage: The cold process eliminates thermal stress. This is vital for fragile items like thin glass vials, cosmetic bottles, or display glass, preventing weakness or breakage.
Permanent and Durable: The mark is an intrinsic part of the surface. It is resistant to fading, scratching, abrasion, and chemicals (like alcohol or solvents used for cleaning), making it suitable for industrial and medical applications.
Non-Contact Process: The laser head never touches the glass, eliminating any risk of physical damage or contamination.
The Marking Process: Step-by-Step
Design: The QR code is generated using laser marking software (e.g., EzCad, LightBurn). The software controls the laser parameters.
Setup: The glass item is placed on the machine's work platform. Fixtures or jigs are often used to hold the item in the exact same position for consistent marking, crucial for production lines.
Focusing: The laser head is adjusted to the correct focal distance from the glass surface. Being in perfect focus is key to a sharp mark.
Parameter Setting: The operator sets the key parameters in the software:
Speed: How fast the galvanometer mirrors move the laser beam.
Power: The intensity of the laser (usually a percentage of the max power).
Frequency (Pulse Per Second): A critical setting for glass. A higher frequency often works better for a smooth frosted effect.
Fill Settings: The pattern (e.g., hatch spacing, angle) used to fill the QR code modules.
Marking: The machine is activated. The laser beam is directed by high-speed mirrors to "draw" the QR code onto the glass surface, pixel by pixel. The process is instantaneous, typically taking a fraction of a second to a few seconds per code.
Verification: In automated systems, a vision camera can immediately scan the newly marked QR code to verify its quality and readability before the product moves on.
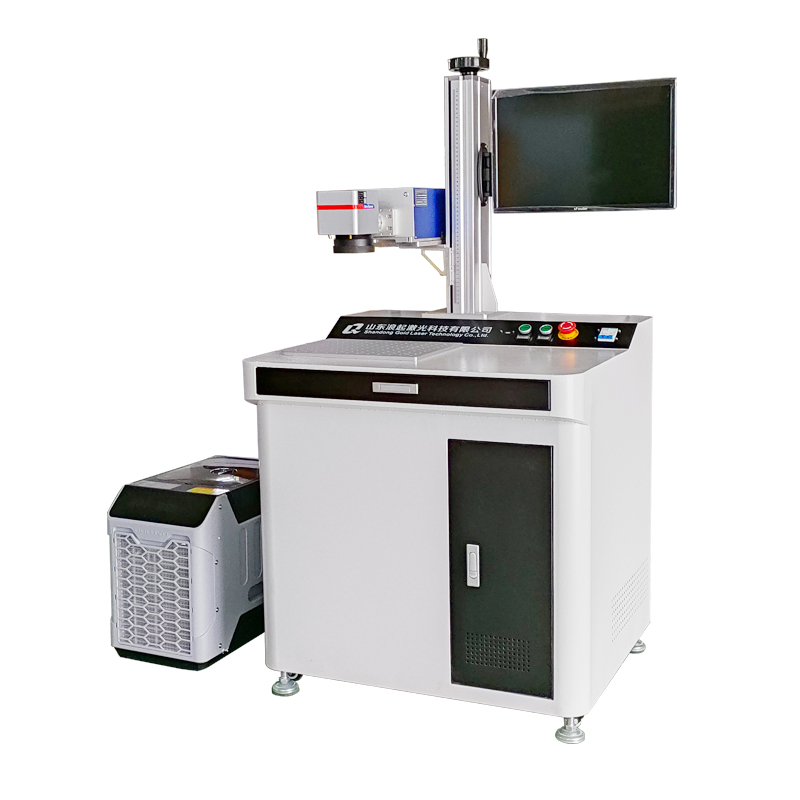
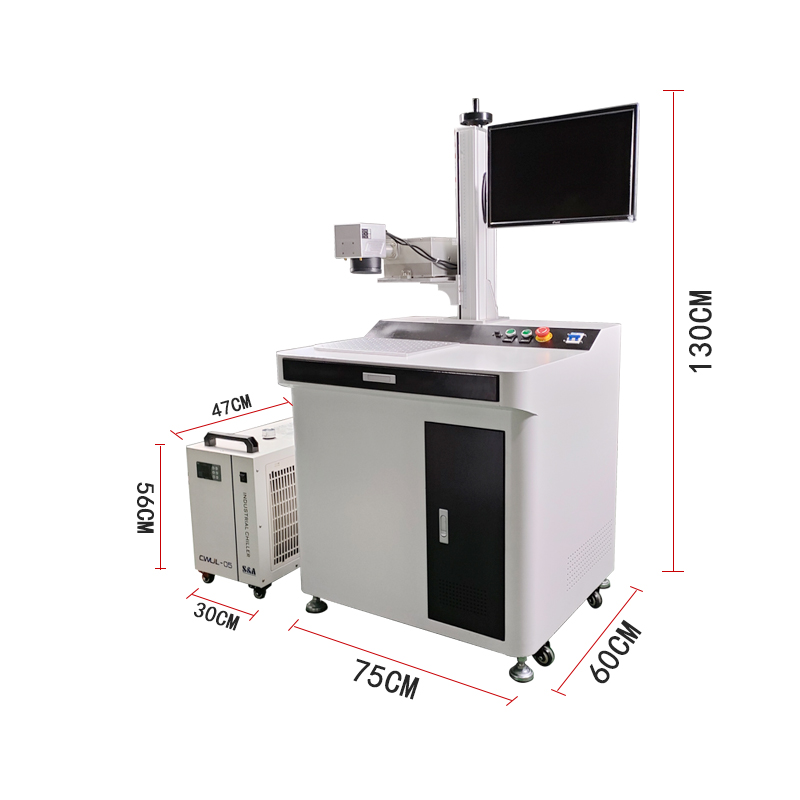
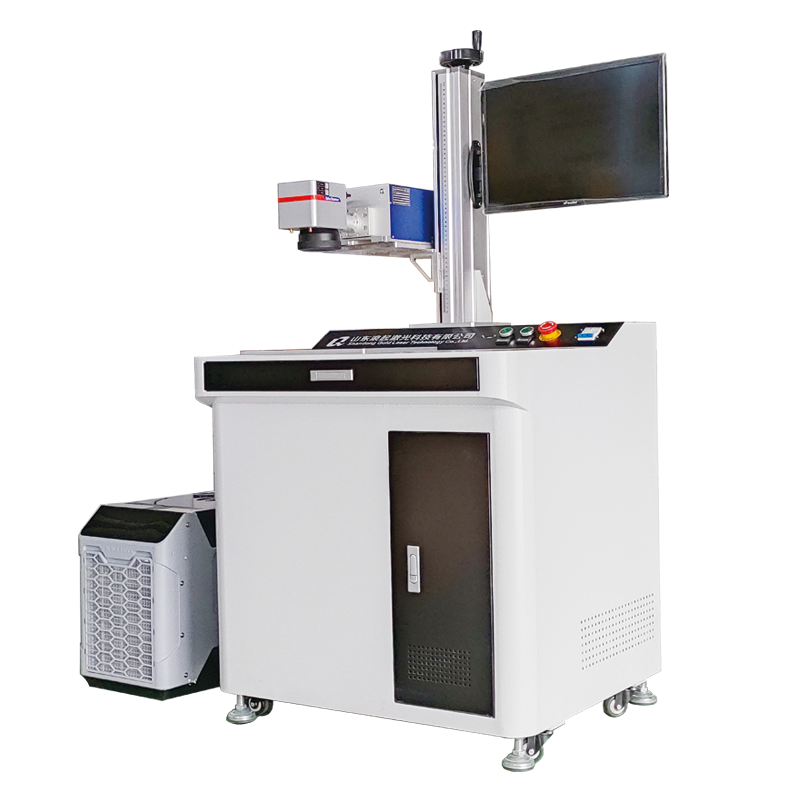
Key Machine Components and Specifications
When choosing a UV laser for this task, consider:
Laser Source: Typically a 3W, 5W, or 10W UV laser. For most glass QR code applications, 3W-5W is more than sufficient and is the most common choice.
Galvanometer (Galvo) System: High-quality galvos ensure speed, accuracy, and the precise placement of the laser spots that form the QR code.
Field of View (FOV): This determines the maximum marking area. A standard FOV is 100x100mm or 200x200mm. For very small codes on many items, a smaller FOV is fine. For large panels, a larger FOV or a CNC-style moving platform is needed.
Software: User-friendly software is essential for generating codes, managing serialization (changing numbers/data for each mark), and fine-tuning parameters.
Fume Extraction: A small amount of fine particulate is generated during marking. An integrated fume extractor keeps the lens clean and maintains a safe work environment.
Applications and Industries
Medical & Pharmaceutical: Marking unique device identification (UDI) codes on glass vials, syringes, and labware for traceability.
Cosmetics & Perfume: Adding QR codes for brand authentication, marketing campaigns, or ingredient information on luxury glass bottles.
Electronics: Marking on glass components for smartphones, sensors, and displays.
Food & Beverage: Branding and traceability on glass bottles and jars.
Art & Decor: Creating intricate designs, serial numbers, or artist signatures on glass artworks.
Best Practices for Optimal Results
Test First: Always run tests on a sample piece of the exact glass you will be using. Different glass compositions (e.g., soda-lime, borosilicate) can mark slightly differently.
Clean Surface: Ensure the glass is free of dust, oil, and fingerprints before marking. Contaminants can lead to uneven marks.
Optimize Parameters: Fine-tune the speed, power, and frequency settings to achieve a crisp, high-contrast frosted mark without any micro-cracks (visible under magnification). Start with low power and high speed and adjust from there.
Verify Scannability: Always test the marked QR code with several different scanner apps on various smartphones and industrial scanners to ensure it works universally.