

Detailed Operation Methods of Mini Handheld Fiber Laser Marking Machine
Preparation Before Operation
Safety Check
Wear protective goggles (specific to the laser wavelength)
Ensure proper ventilation in the working area
Check that the emergency stop button is functional
Equipment Setup
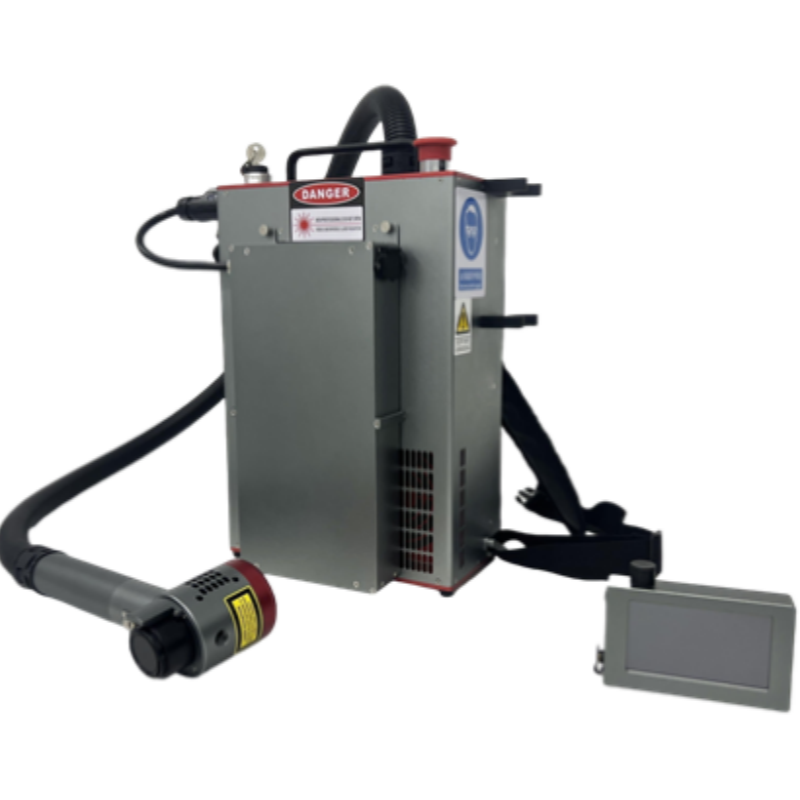
Fully charge the battery or connect to power source
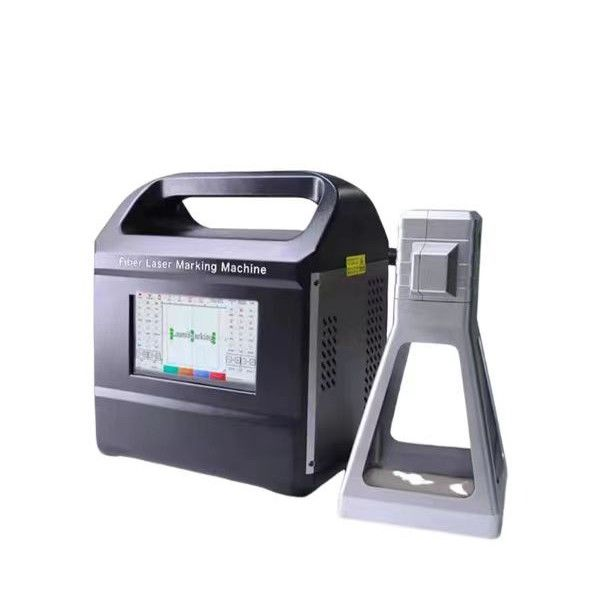
Install the handheld marking head securely
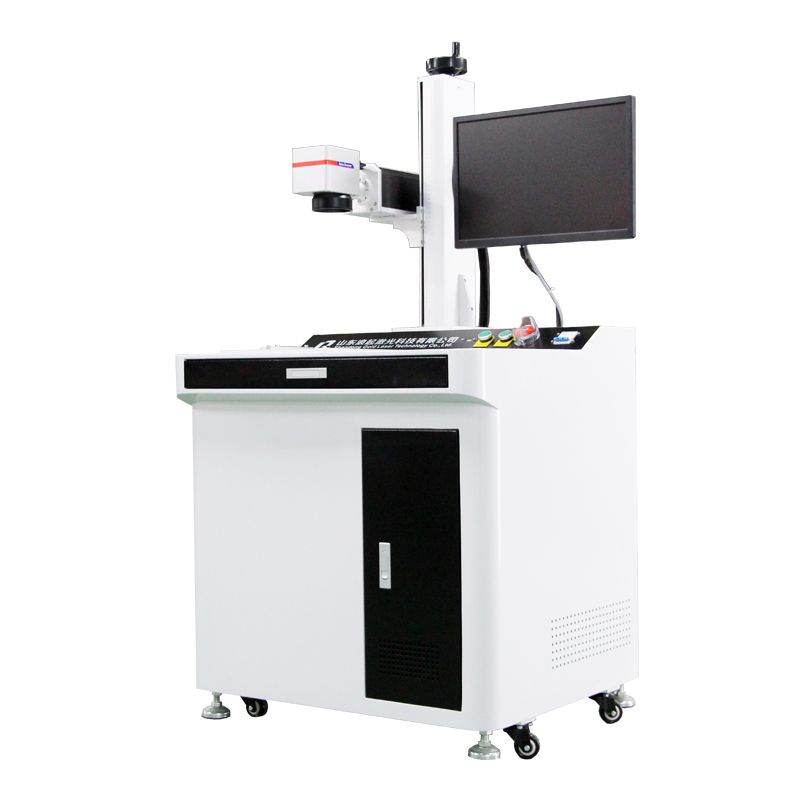
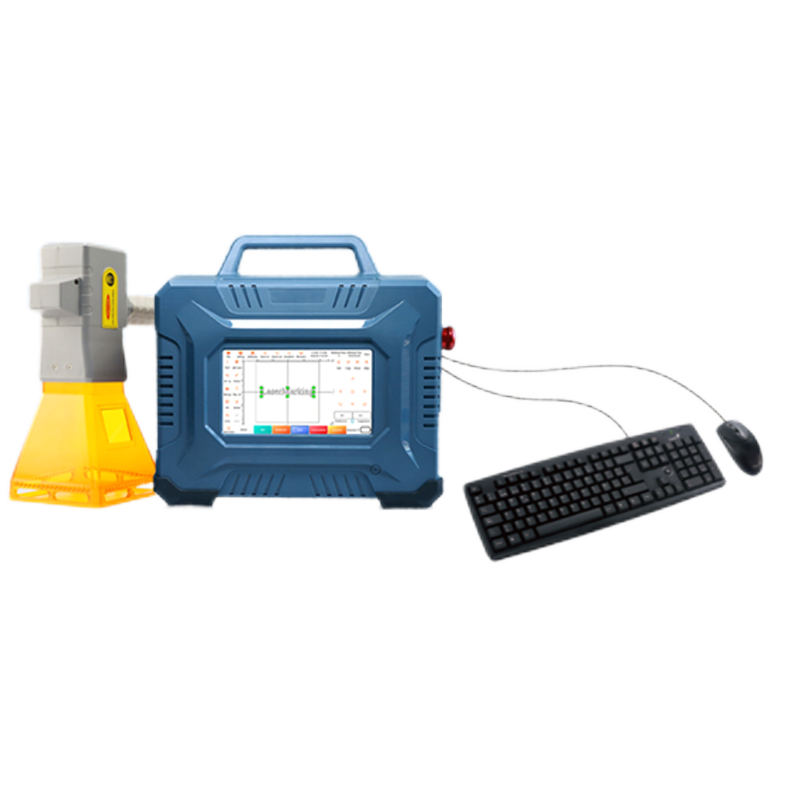
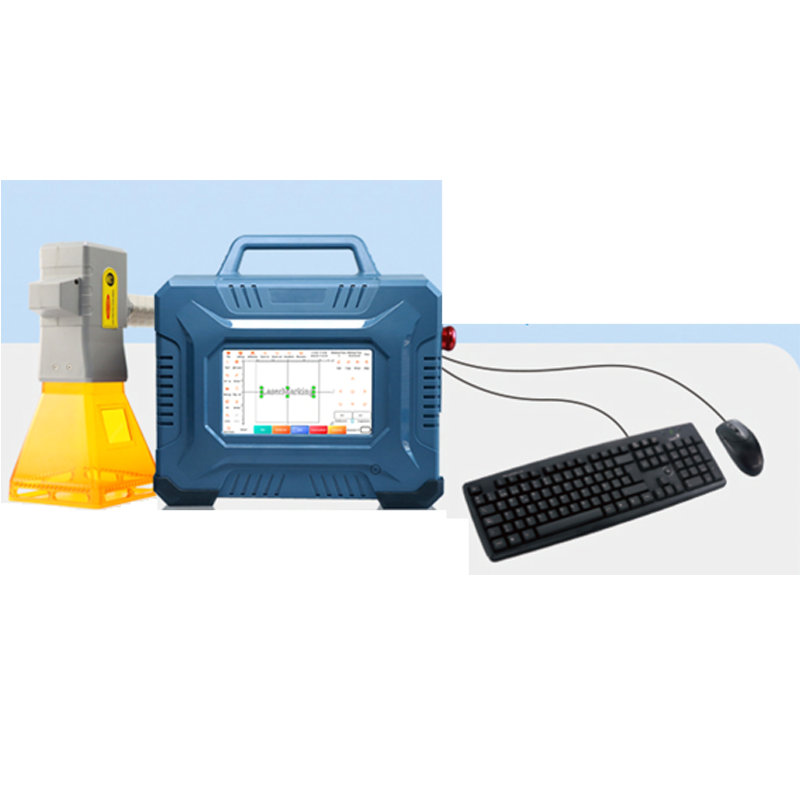
Connect to computer/controller if required for design transfer
Material Preparation
Clean the surface to be marked (remove oil, dust, etc.)
Position the material on a stable, flat surface
For curved surfaces, use appropriate fixtures
Basic Operation Steps
Power On
Turn on the main power switch
Wait for system initialization (typically 10-30 seconds)
Parameter Setting
Power (usually 20-80% of maximum)
Frequency (20-100 kHz for most materials)
Marking speed (100-2000 mm/s)
Filling density (0.01-0.2 mm)
Select material type in the software (metal, plastic, etc.)
Adjust parameters:
Focus Adjustment
Measure or estimate working distance (varies by model)
Adjust the focus lens to the correct distance
Perform test marks to verify focus quality
Design Import/Creation
Create text, logos, barcodes, etc.
Import vector files (DXF, AI, PLT formats)
Adjust size and position
Use included software to:
Positioning
Use the red positioning laser (if equipped)
Manually position the marking head at the correct distance
Verify position with a test pulse (low power)
Marking Execution
Press the trigger button (handheld models)
Or click "Start" in the software (connected models)
Maintain steady hand movement for consistent marking
Advanced Functions
Variable Depth Marking
Adjust power in different areas of the design
Use grayscale processing for depth variation
Serial Numbering
Set up automatic sequence numbering
Configure increment patterns (date, batch numbers, etc.)
Database Connection
Link to external databases for dynamic marking
Automatically pull serial numbers or product info
Barcode/QR Code Generation
Generate 1D or 2D codes directly
Set error correction levels for QR codes
Post-Operation Procedures
Shutdown Sequence
Turn off laser power first
Then shut down control system
Finally disconnect power source
Maintenance
Clean lenses with alcohol and lens tissue
Check and clean ventilation filters
Inspect cables for wear
Troubleshooting Common Issues
Faint marking: Increase power or slow speed
Burn marks: Reduce power or increase speed
Uneven marking: Check focus and material flatness
Safety Precautions
Never operate without proper eye protection
Avoid marking reflective materials without special settings
Keep flammable materials away from marking area
Regularly inspect equipment for damage
Follow all manufacturer-specific safety guidelines