- 1. Basic Parameter Setup
- Laser Power (%)
- Marking Speed (mm/s)
- Frequency (kHz)
- Fill Spacing (Hatch Distance, mm)
- Pulse Width (ns)
- 2. Material-Specific Settings
- Stainless Steel / Metals
- Aluminum (Anodized or Bare)
- Plastics & PVC
- Glass & Ceramics
- 3. Advanced Adjustments
- 4. Testing & Optimization
- 5. Common Issues & Fixes
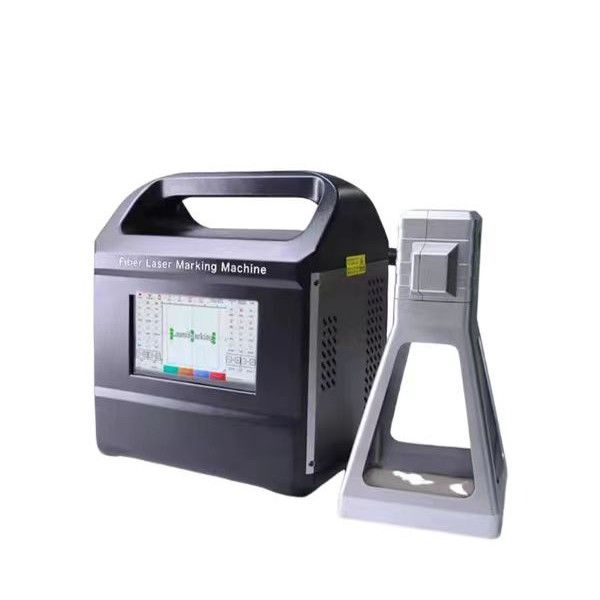
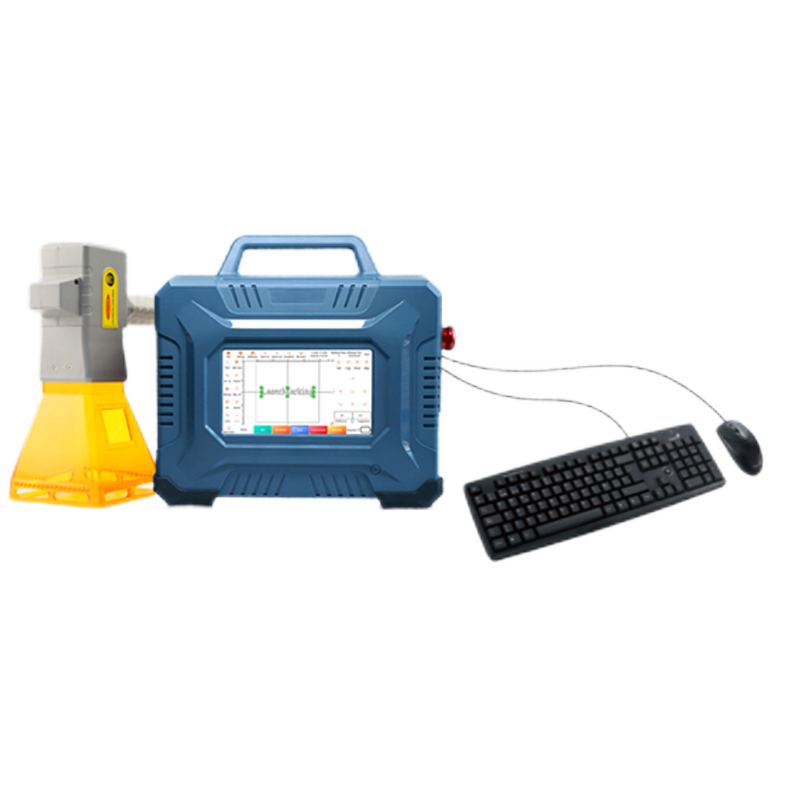
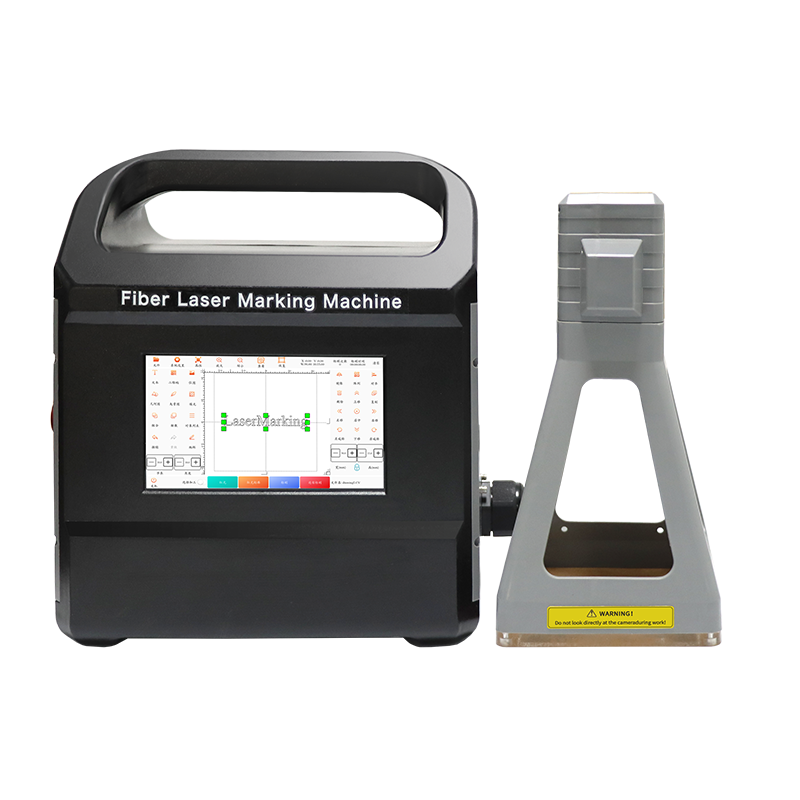
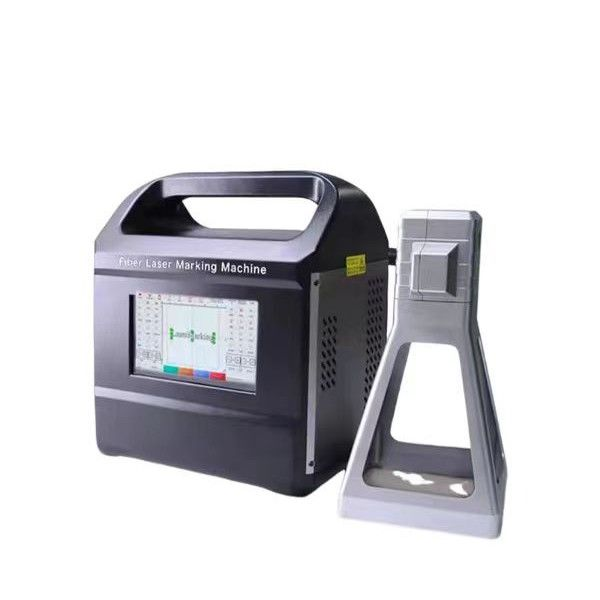
Setting the marking parameters for a handheld fiber laser marking machine correctly is crucial for achieving high-quality, precise, and efficient results. Below is a step-by-step guide to help you optimize the settings:
1. Basic Parameter Setup
Laser Power (%)
Recommended Range: 20%–80% (varies by material)
Low Power (20%-40%) – Suitable for delicate materials (e.g., plastics, anodized aluminum).
Medium Power (40%-60%) – Works well for coated metals, paint, and some plastics.
High Power (60%-80%) – Best for deep engraving on metals (stainless steel, titanium).
Marking Speed (mm/s)
Faster Speed (1000–2000 mm/s) – Light surface marking (logos, QR codes).
Slower Speed (100–500 mm/s) – Deep engraving or harder materials.
Frequency (kHz)
Low Frequency (20–50 kHz) – Better for deep engraving (metals).
High Frequency (80–150 kHz) – Smoother surface marking (plastics, anodized aluminum).
Fill Spacing (Hatch Distance, mm)
Smaller Spacing (0.01–0.05 mm) – Denser fill for darker marks.
Larger Spacing (0.05–0.1 mm) – Faster marking with lighter results.
Pulse Width (ns)
Short Pulse (<100 ns) – Fine details (high precision).
Long Pulse (>100 ns) – Better for deep engraving.
2. Material-Specific Settings
Stainless Steel / Metals
Power: 50%–70%
Speed: 300–800 mm/s
Frequency: 30–50 kHz
Fill Spacing: 0.03–0.06 mm
Aluminum (Anodized or Bare)
Power: 30%–60%
Speed: 500–1200 mm/s
Frequency: 50–100 kHz
Plastics & PVC
Power: 20%–40% (avoid burning)
Speed: 800–1500 mm/s
Frequency: 80–120 kHz
Glass & Ceramics
Power: 20%–40% (use low power to prevent cracking)
Speed: 200–500 mm/s
3. Advanced Adjustments
Scanning Mode:
Single-Line Mode – For text and fine lines.
Cross-Hatch Mode – For filled areas (logos, barcodes).
Defocusing (Z-Height Adjustment):
Slightly defocusing (~1–2 mm above/below surface) can improve marking clarity.
Air Assist (if available):
Helps reduce debris and heat buildup (recommended for metals).
4. Testing & Optimization
Start with Default Settings (from the machine manual).
Run a Test Mark on a sample piece.
Adjust Parameters incrementally (e.g., increase power if too faint, reduce speed if burning occurs).
Save Custom Presets for different materials.
5. Common Issues & Fixes
| Problem | Possible Solution |
|---|---|
| Mark too faint | Increase power or reduce speed |
| Burn marks | Lower power, increase speed, or reduce frequency |
| Uneven marking | Check focus, adjust fill spacing |
| Blurry text | Clean lens, check defocus distance |

