


Proper focal length adjustment is crucial for achieving optimal marking results with your desktop fiber laser marking machine. Here's a comprehensive guide:
Understanding Focal Length
The focal length is the distance between the laser's focusing lens and the workpiece surface where the laser beam is most concentrated (focal point).
Adjustment Methods
1. Manual Adjustment (Common on Basic Models)
Locate the focus adjustment mechanism - Typically a knob or ring on the laser head
Place the calibration tool (usually included) on your workpiece surface
Slowly rotate the adjustment mechanism while observing the laser spot
Stop when the spot is at its smallest diameter (this is the focal point)
2. Motorized Adjustment (Advanced Models)
Access the control software
Navigate to the focus adjustment menu
Use the software controls to move the lens up/down
Test marking to verify optimal focus
Calibration Techniques
Test Mark Method:
Mark a series of lines at different heights
The clearest/most intense line indicates proper focus
Red Pointer Method (if equipped):
Use the red pointer to visually locate the smallest spot
Auto-Focus Sensors (on premium models):
Let the machine automatically detect and set the optimal focus
Important Tips:
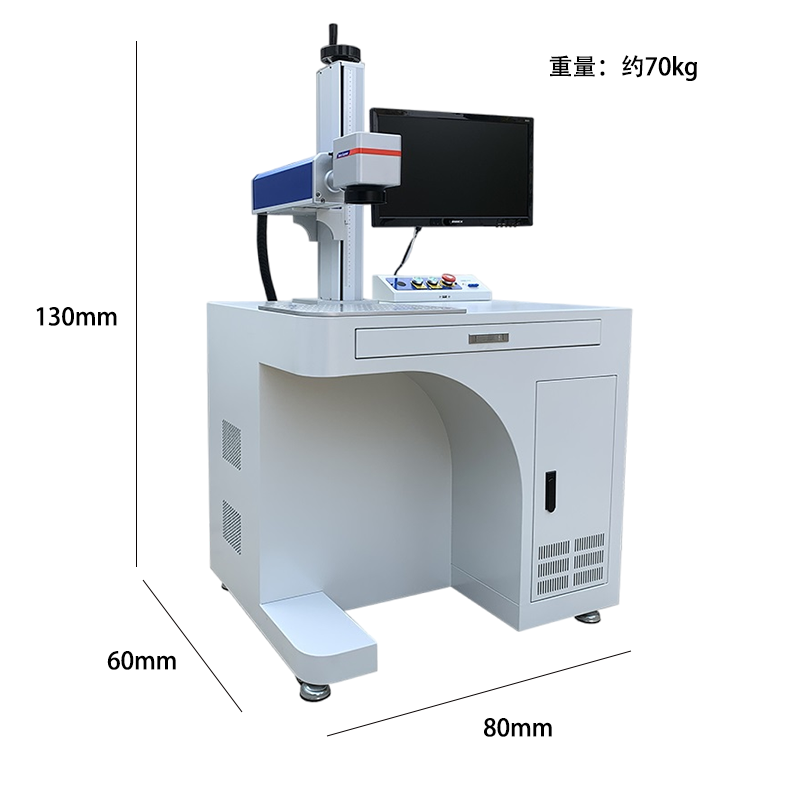
Always measure material thickness before adjusting focus
For consistent results, maintain the same focal distance for identical jobs
Clean the lens regularly - dust affects focal performance
Document your settings for different materials and applications
For deep engraving, you may need to adjust focus mid-process
Common Focal Lengths:
Desktop fiber laser markers typically have focal lengths between:
100mm to 300mm (standard)
50mm to 100mm (for fine detail work)