


Of course. This is a very common application, but it comes with a critical safety warning.
Here is a comprehensive guide to using a CO2 laser marking machine on PVC plastic material.

⚠️ MAJOR SAFETY WARNING: DO NOT LASER PVC ⚠️
The single most important thing to know is that lasering PVC is highly discouraged and considered dangerous in most settings.
Toxic Fumes: When PVC (Polyvinyl Chloride) is vaporized by the CO2 laser, it releases chlorine gas and hydrochloric acid (HCl) fumes.
Health Hazards: These fumes are extremely corrosive, toxic to inhale, and can cause severe respiratory irritation, chemical burns to the lungs, and long-term health issues.
Machine Damage: The hydrochloric acid fumes are highly corrosive to the laser machine itself. They can rapidly degrade the lens, mirror coatings, and the metal components inside the laser chamber, leading to costly repairs and premature failure.
If you must proceed, it is absolutely non-negotiable to have a high-performance fume extraction system with an external scrubber designed for acidic gases.
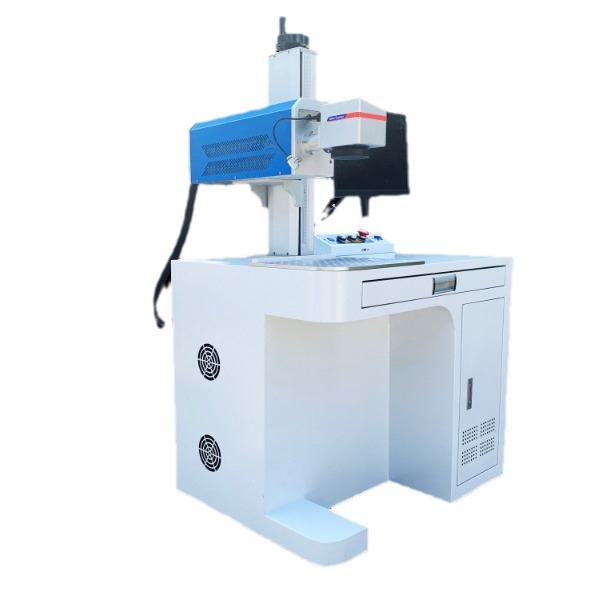
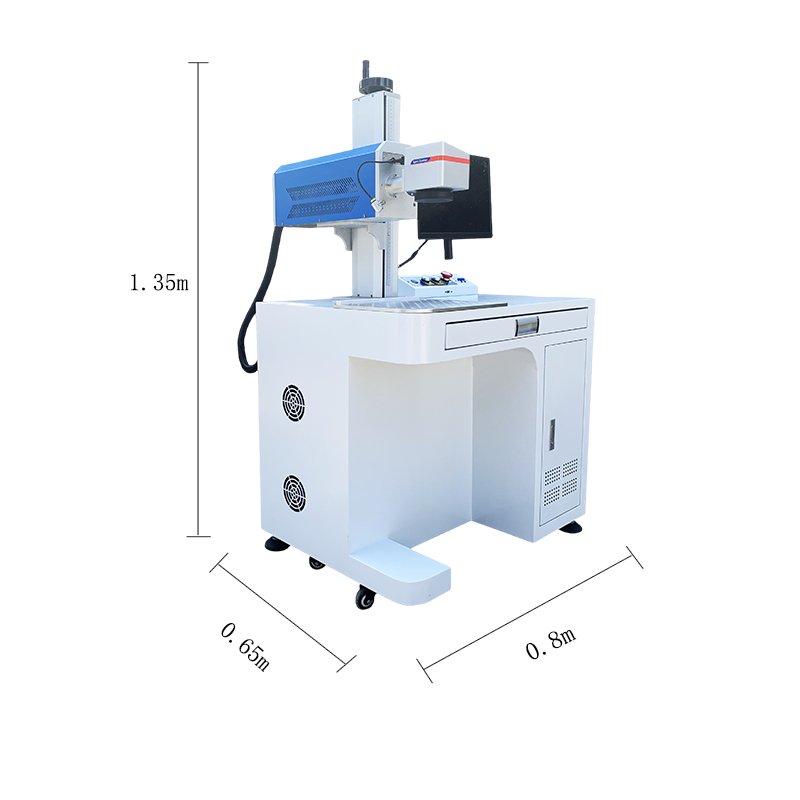
How CO2 Laser Marking Works on PVC
If the safety precautions are met, here is the technical process:
A CO2 laser operates at a wavelength of 10.6 micrometers, which is readily absorbed by most plastics, including PVC. The laser energy causes the surface layer of the PVC to vaporize (ablate) and/or change color through a thermal-chemical reaction.
The result on PVC is typically a contrasting mark, most often a light brown, tan, or dark beige color against the (usually white or gray) base material. The exact color depends on the laser parameters and the specific additives in the PVC.
Recommended Laser Parameters for PVC
These are starting points and must be tested on a small sample. PVC comes in many formulations (rigid, flexible, with different additives), so settings will vary.
Laser Power: Low to Medium (e.g., 10% - 30% of a 60W laser). PVC marks easily and too much power will melt or burn it.
Speed: Medium to High. A faster speed prevents excessive heat buildup, which can lead to melting and excessive fume production.
PPI / Frequency: A medium to high frequency (e.g., 1000 - 5000 PPI) is often best. This creates a cleaner, more consistent mark by using many small pulses rather than a continuous burn.
Focus: Ensure the laser is correctly focused for the sharpest and most efficient mark.
Example Starting Parameters (for a 60W CO2 Laser):
Power: 15%
Speed: 80% of max
PPI/Frequency: 2000 Hz
Passes: 1
Always start with low power and high speed and gradually adjust.
Step-by-Step Guide for Marking
Safety First: Confirm your extraction system is on and functioning perfectly. Wear appropriate PPE if handling the material immediately after engraving.
Material Verification: Double-check that the material is indeed PVC. Look for recycling symbols or material datasheets. If in doubt, do not laser it.
Secure the Material: Clamp or fix the PVC piece in place to prevent movement during marking.
Focus the Laser: Use the laser's focus tool to set the correct Z-height for the material.
Job Setup: Import your vector file (for cutting) or raster file (for engraving/images) into your laser software (e.g., LightBurn, RDWorks).
Parameter Setting: Input your starting parameters into the software for the specific color layer you are using.
Test Run: Perform a test mark on a small, scrap piece of the exact same PVC material. Place it in an inconspicuous area if possible.
Inspect and Adjust: Examine the test mark.
Is it too faint? -> Slightly increase power or decrease speed.
Is it burnt, melted, or deformed? -> Decrease power, increase speed, or increase air assist.
Is the contrast poor? -> Adjust the speed/power combination or try a different PPI setting.
Run the Job: Once the test mark is satisfactory, run the full job.
Post-Processing: The marked area might have some residue. Gently wipe it with a soft, damp cloth. Avoid abrasive cleaners.
Advantages of Laser Marking PVC
Permanent & Legible: Creates a permanent, high-contrast mark that won't rub off.
High Precision: Excellent for fine details, serial numbers, barcodes, and complex logos.
Non-Contact Process: No tool wear and no mechanical stress on the part.
Fast and Automated: Ideal for high-volume production lines.
Disadvantages & Risks
Produces Toxic and Corrosive Fumes: The primary and most significant disadvantage.
Material Damage Risk: Easy to melt or burn if parameters are incorrect.
Limited Color Options: Typically only produces shades of brown/tan.
Requires Significant Ventilation Investment: Safe operation is expensive.
Safer Alternatives to PVC for Laser Marking
This is the recommended approach. If you need a plastic with similar properties, consider these laser-safe alternatives:
PET & PETG: Lasers very well, producing a clean, light mark. Common in packaging.
Acrylic (PMMA): Engraves to a beautiful frosted finish and cuts cleanly.
Polypropylene (PP): Can be marked, though it sometimes requires specific parameter adjustments.
ABS: Can be laser marked but also produces strong fumes (though not as toxic as PVC). Good ventilation is still required.
Delrin (POM): AVOID lasering Delrin. It produces formaldehyde gas, which is also highly toxic.
Coated Metals: For items like labels or nameplates, anodized aluminum or coated steel lasers beautifully and is very durable.
Conclusion
While a CO2 laser can technically mark PVC, the severe health risks and machine damage potential make it a poor choice. The process should only be attempted in an industrial setting with a dedicated, high-efficiency fume extraction and filtration system.
Your best course of action is to source an alternative, laser-safe material that meets your application's needs without the associated hazards.