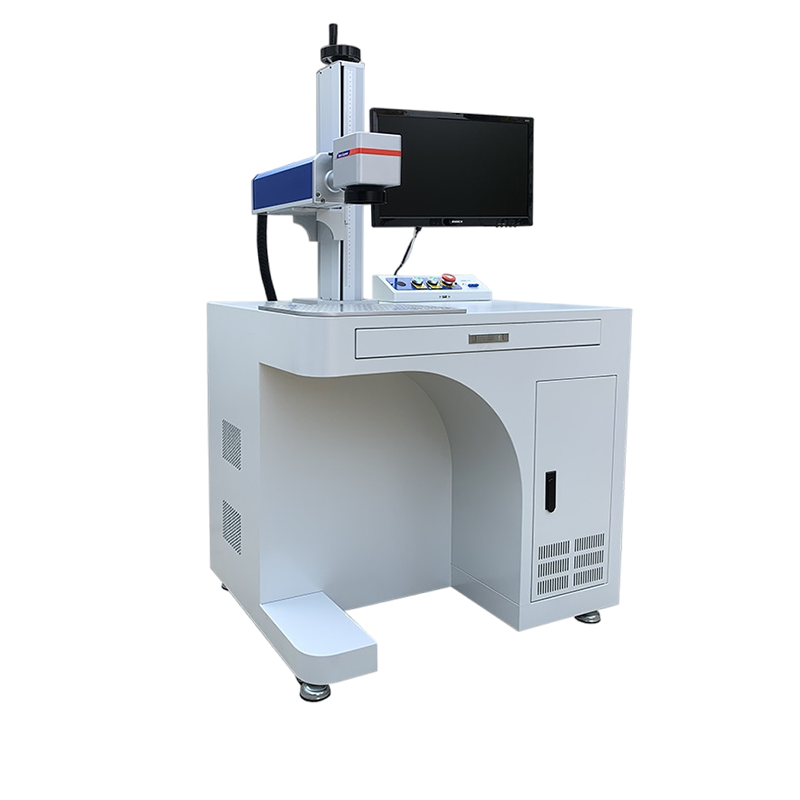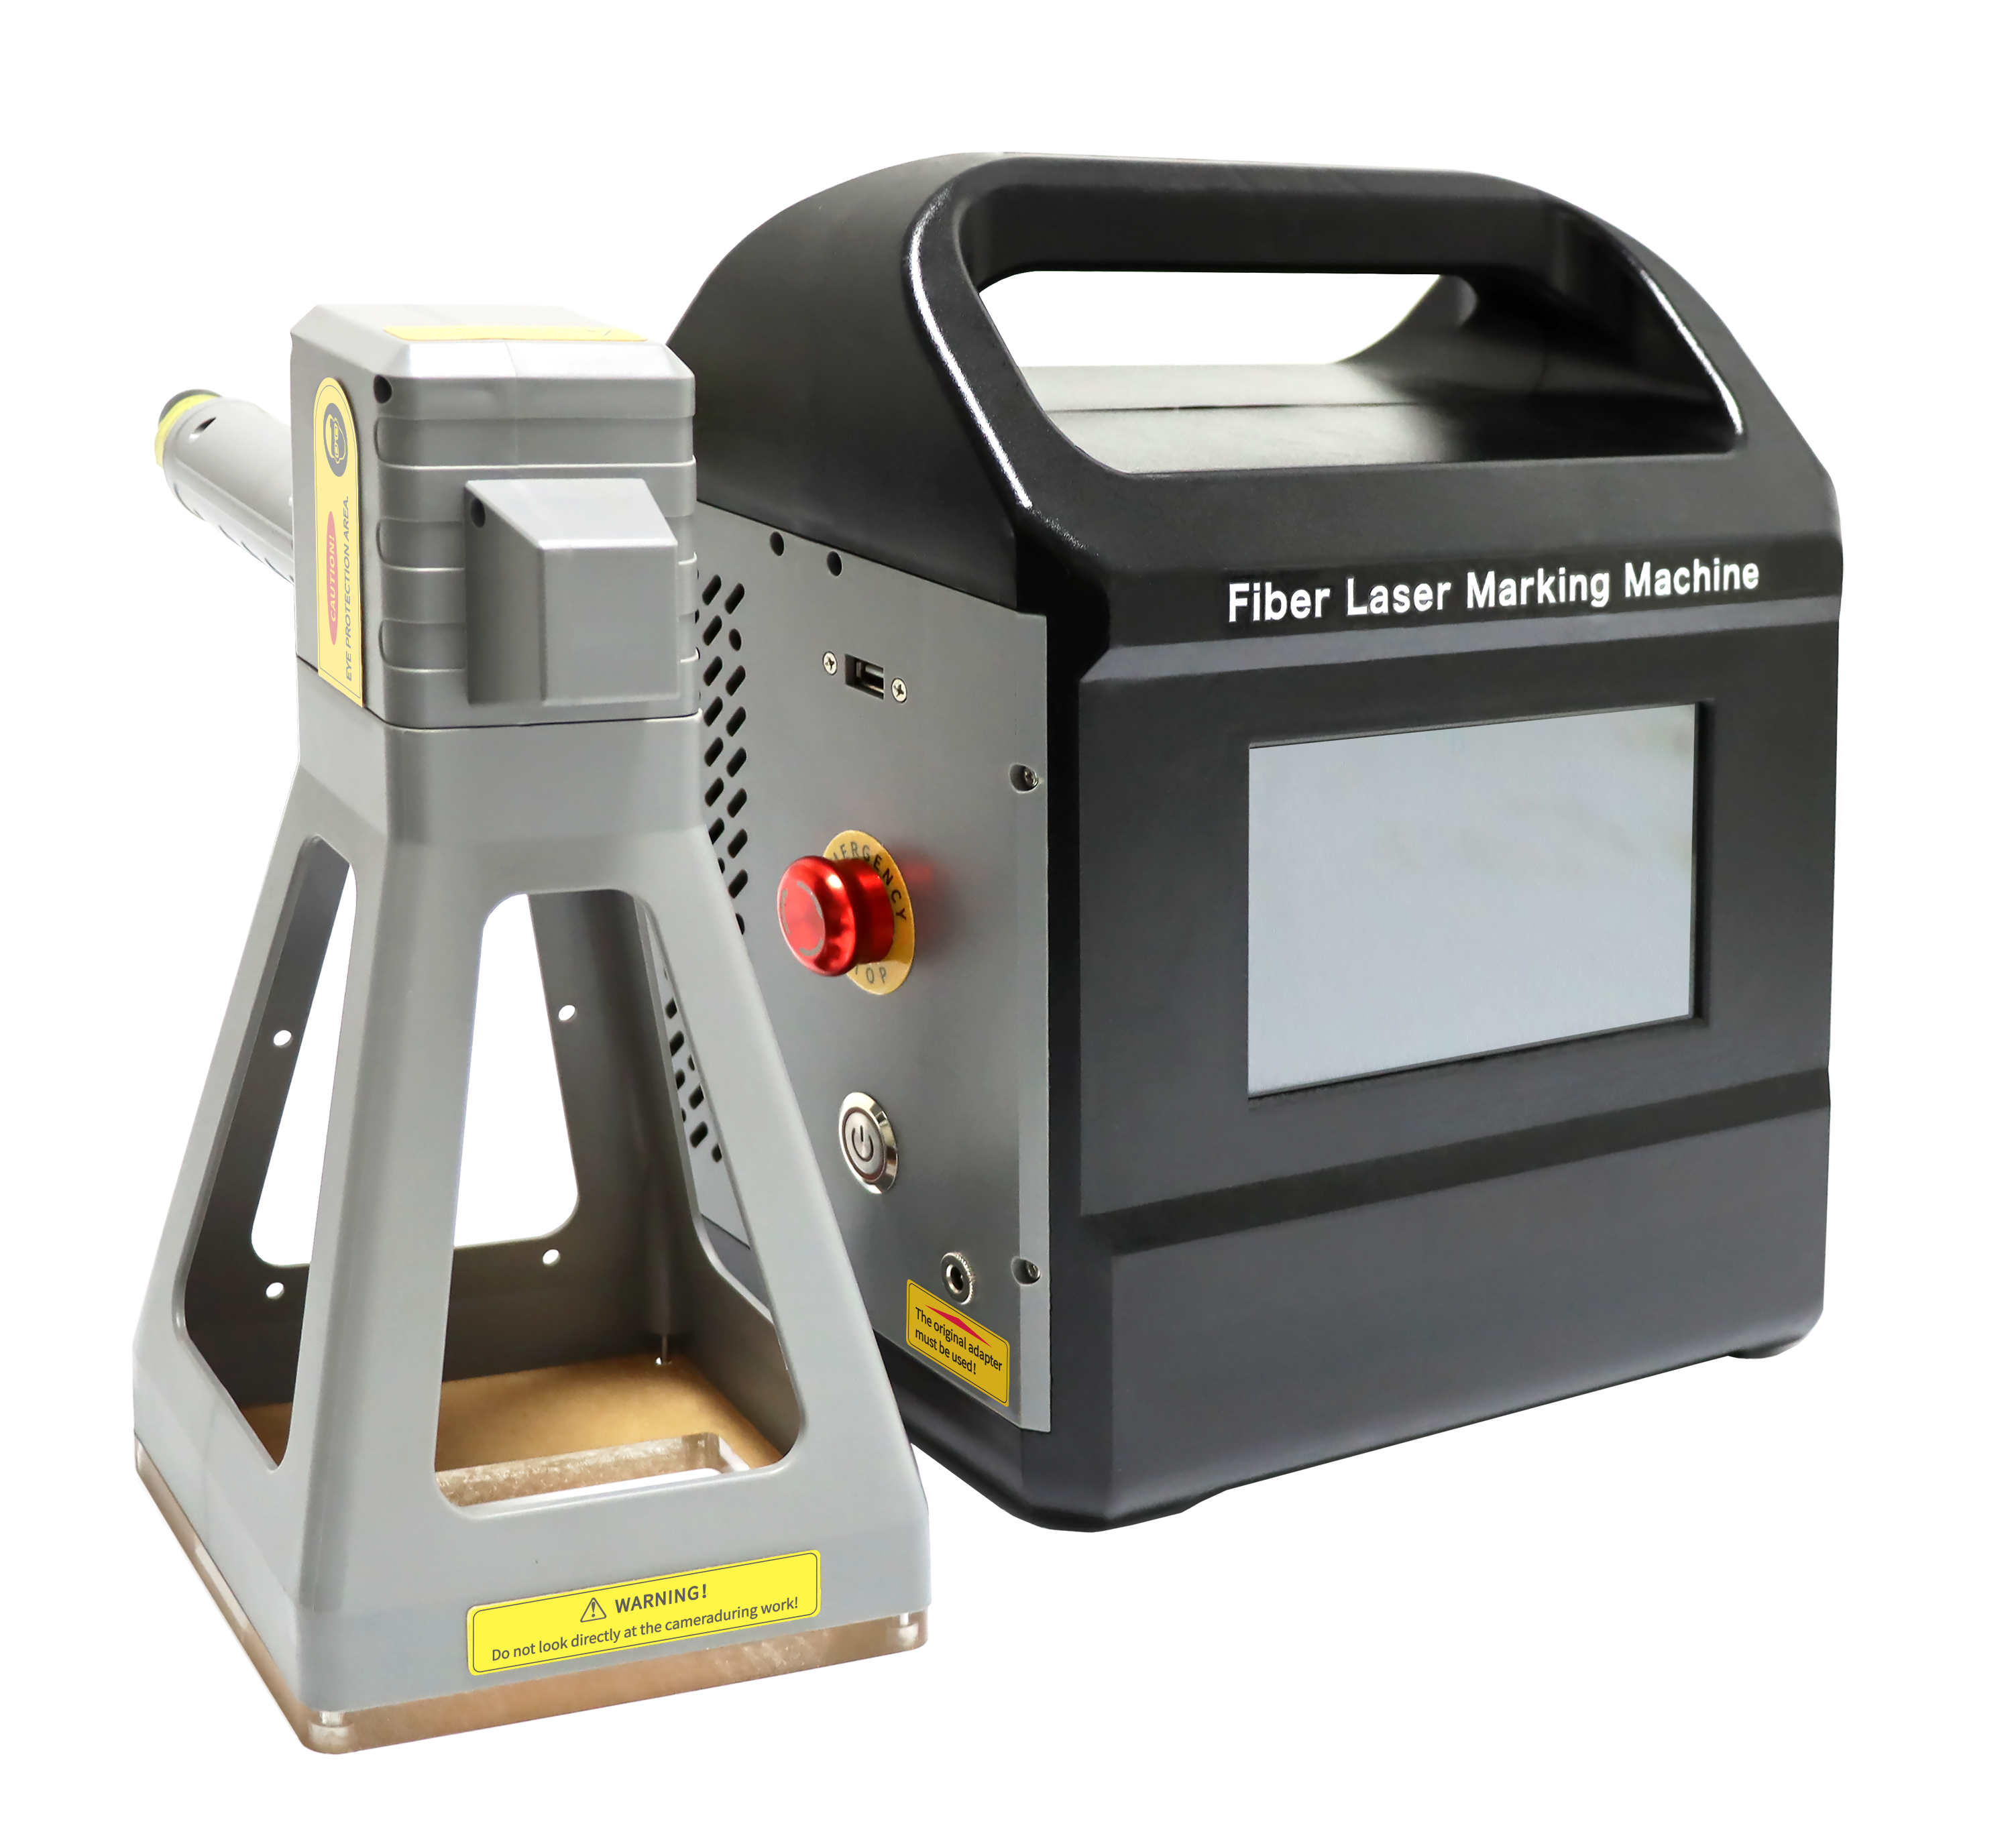
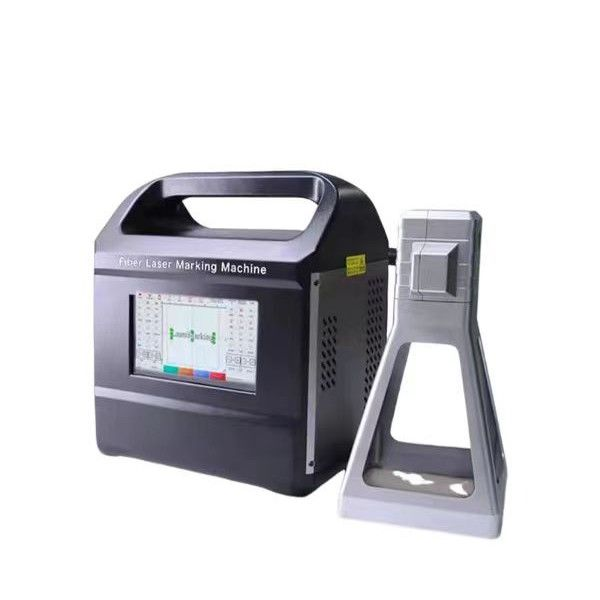
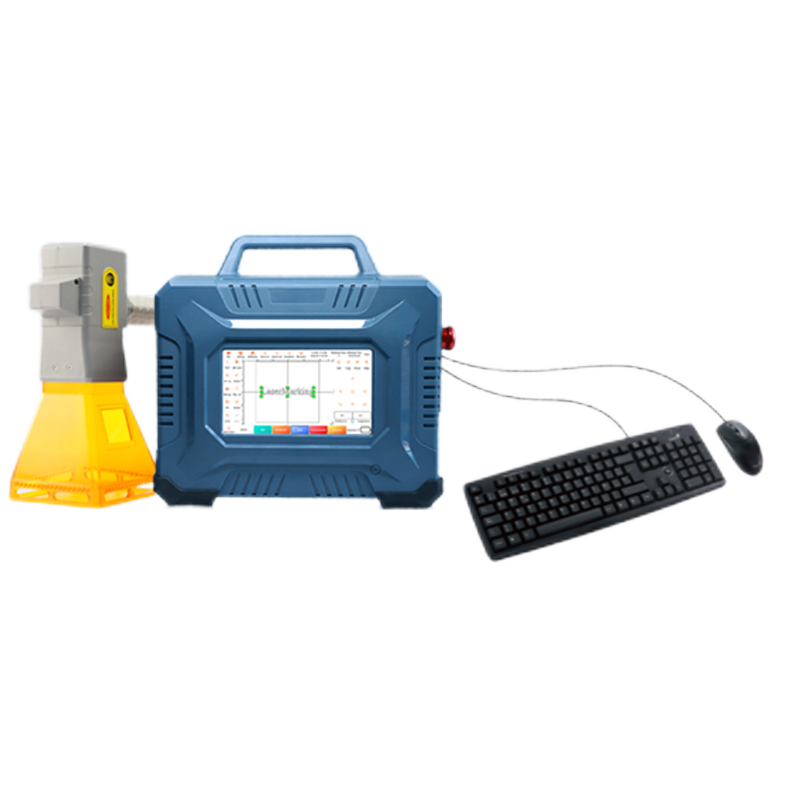


Using a handheld laser marking machine involves several steps to ensure safe and effective operation. Here's a general guide:
1. Safety Precautions
Wear laser safety goggles to protect your eyes from reflected beams.
Avoid pointing the laser at reflective surfaces or people.
Work in a well-ventilated area if marking materials that produce fumes.
Keep flammable materials away from the laser.
2. Setup & Preparation
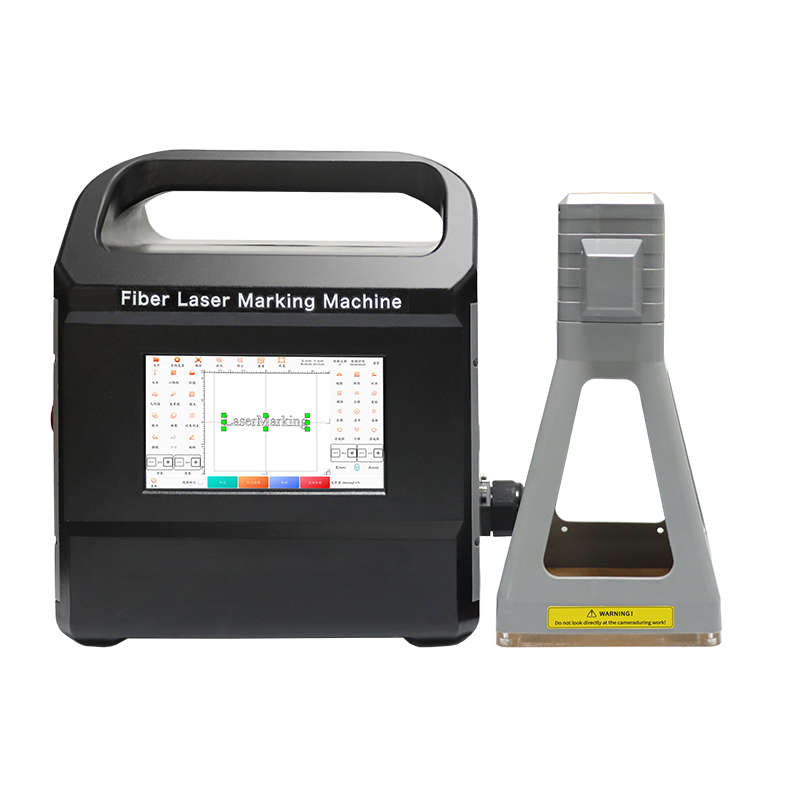
Charge/Power the Device: Ensure the battery is fully charged or connect it to a power source.
Install Software (if applicable): Some models require connecting to a computer to upload designs.
Adjust Focus: Set the correct focal distance (usually by rotating the lens or adjusting the head).
3. Load or Design the Marking Content
Preloaded Patterns: Some handheld lasers have built-in fonts/symbols.
Custom Designs: Use companion software (like LightBurn, EzCad) to import/design graphics, text, or barcodes.
Adjust Settings: Set power (%), speed (mm/s), and frequency (Hz) based on material (test on scrap first).
4. Marking Process
Position the Laser: Hold the device steady or use a fixture for alignment.
Start Marking: Press the trigger or start button (some models require a foot pedal).
Move Evenly: For large areas, move the laser at a consistent speed to ensure uniform marking.
5. Post-Marking
Inspect the mark for clarity and depth.
Adjust settings if needed for better results.
Clean the lens periodically with a microfiber cloth to maintain beam quality.
6. Maintenance
Store in a dry, dust-free environment.
Check for loose connections or lens damage.
Replace consumables (like batteries or lenses) as needed.
Common Materials & Applications
Metals (anodized, coated): High contrast marks.
Plastics: Adjust power to avoid melting.
Wood & Leather: Engrave logos or text.
Glass & Ceramics: Use lower power to prevent cracking.